
For the violin, it all starts here
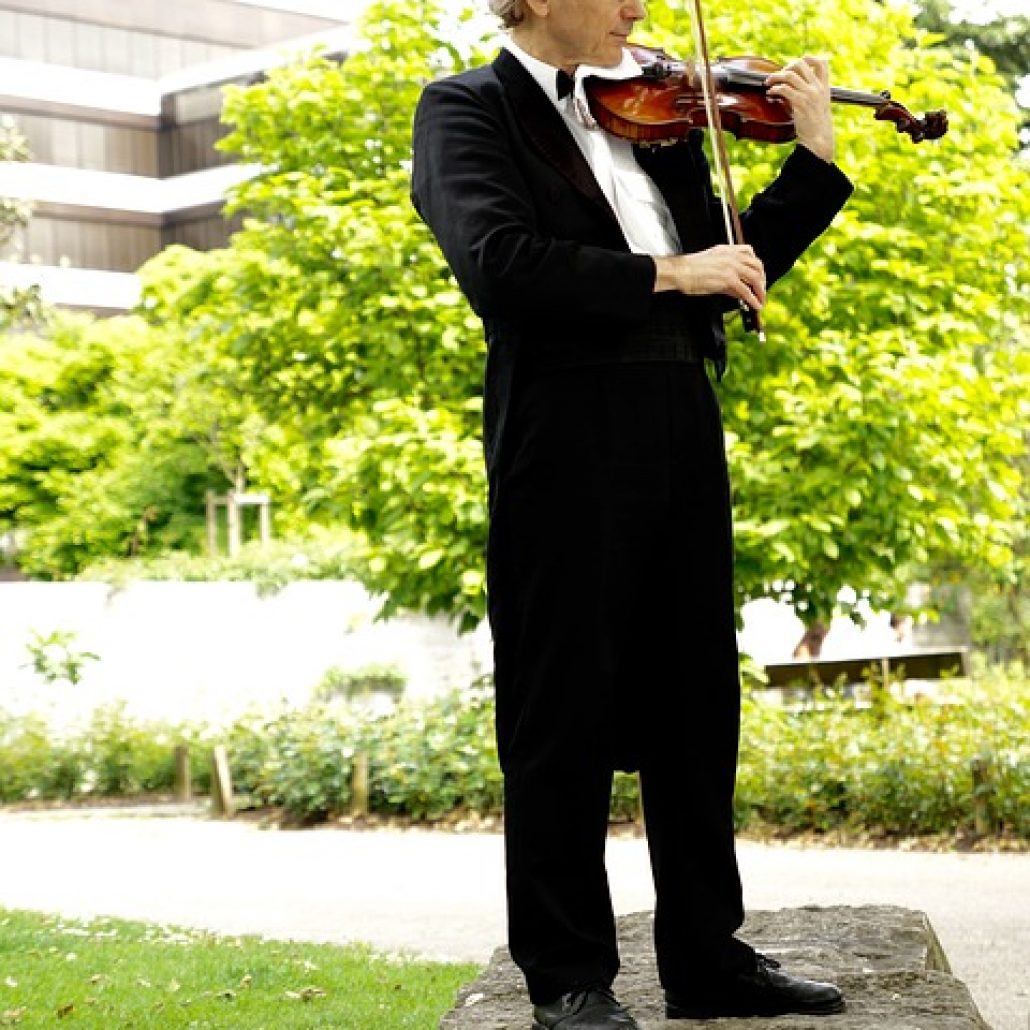
Step 1, day 1. This is where it all begins, friends! If you’re a right handed violinist, you will hold your instrument with your left hand, on the left side of your body.
It is going to sit on top of your shoulder and your chin will sit on your chin rest. This is important! Do not place your jawbone on your chin rest as it will become painful.
The shoulder rest
My method revolves around having a shoulder rest of some kind that is secure in it’s position on the back of the violin. The goal of the shoulder rest is to prop up the violin, and to make it so that the violin is secure on the shoulder. In other words, we don’t want it to move very much.
Another thing we don’t want is a shoulder rest that is too high. This is a general problem for my younger students. The shoulder rest should make it so that you don’t have to lower your chin too far to sit on the chin rest.
Recommended Reading – How To Hold The Violin Bow: Posture
However, if the shoulder rest is so high that it requires you to uncomfortably lift your chin above normal relaxed levels, you either need to adjust the shoulder rest, or find a shoulder rest that better fits you.
Whether you are using a violin sponge and rubber bands, an inflatable shoulder rest, or a manufactured shoulder rest with feet, the goal is still the same.
There are a number of different types of should rests, some being better than others. At the end of the day, follow the goals of the shoulder rest and if yours does not prop up the violin and secure it in place on the shoulder, it’s time to look for a new shoulder rest.
If you find yourself needing a shoulder rest, check out our article on the subject. We hope it helps you!
The violin mantra: “Nose Scroll Toes”
I have my students remember a mantra of sorts. Repeat after me, “Nose, Scroll, Toes”. “Nose, Scroll, Toes.” First, let’s just deal with “Nose, Scroll”.
Remember, we want the CHIN to sit on the chin rest. This means our nose will be generally pointing in the direction of our scroll. This is the correct way to hold the violin.
Now, you will see some violinists who play different styles of music who do not adhere to this method of playing. However, “Nose, Scroll, Toes” is the RULE. Once you know the rules and you are very good at them, you can go about breaking them.
I strongly recommend that right now, while you are learning the instrument, you learn to play following this saying as this will be the best way for you to play your instrument. It will even help you with sight reading sheet music later!
How hard should my chin press on the shoulder rest of the violin?

You should not have to press down very hard on your chin rest to keep the violin in place, as long as you have a shoulder rest. Generally speaking, if your chin hurst, or your muscles become locked up from pressing down on the chin rest, you are pressing down too hard on your chin rest.
My rule is as follows: experiment with how much pressure you are placing on the chin rest (and on the bottom side of the violin, your shoulder rest), by keeping your hand underneath the violin in case you drop it.
Next, slowly release pressure from your chin on the chin rest. Just before the violin begins to dip from lack of pressure on the chin rest is how hard you should be pressing down.
Keep yourself level headed
Your head and your violin should be level. What I mean is, when holding your violin, the scroll should neither be pointing at the floor, or pointing at the ceiling. The scroll should be completely parallel to the floor and the ceiling. In this way, you will make sure your posture is best suited for future techniques.
Where do I put my hand on the violin?
Start simply by holding the violin on the upper bout of the violin on the side opposite your chin. This should be the upper bout closest to your E string. It’s as simple as that. This is how I have my students being learning how to play open strings.
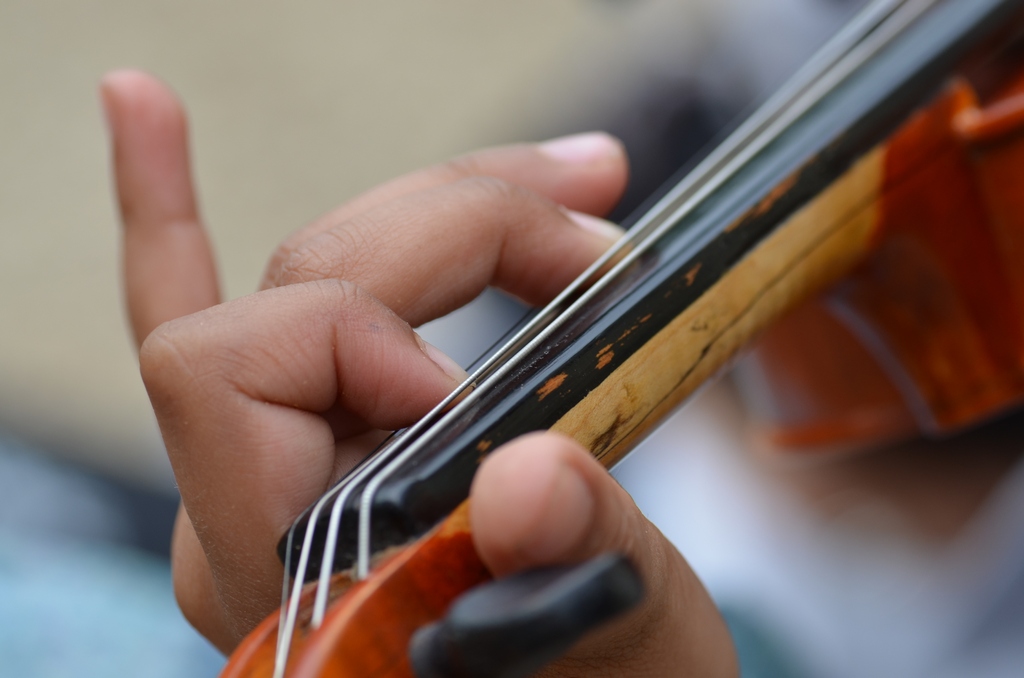
The next way to hold the violin is by placing the hand near the nut, just before the peg box. There are two key things about placing the hand on the violin.
1) Your left hand’s first finger base knuckle, where the base of the finger becomes the bulk of the hand, should be on the side of the fingerboard next to the E string. 2) Your left hand thumb should be on the opposite side of the violin near the G string.
Find a point halfway between the tip of your thumb and the first knuckle after the tip. That halfway/middle point is where you should make contact with the side of the fingerboard of the violin neck.
Next, you want the crevice between the thumb and the first finger to be open. In other words, don’t let the violin neck slide down and touch the fleshy part of your hand.
What should I do with my wrist?
Following this, make sure that your wrist is rotated so that your pinky finger is facing your. Also, the wrist needs to be straight. Don’t let it become bent and flat.
You’ll know it’s incorrect because it will resemble the hand you use to push something, or hold up a tray. I tell my students, “no pizza waiter hand!”. Don’t get me wrong, I LOVE pizza and their waiters. But we’re playing the violin, not working at a pizzeria.
Your elbow should rest directly under the violin
Finally, make sure the left elbow is directly underneath the violin. Under no circumstances will the elbow be behind the violin.
In other words, your elbow should generally be underneath the strings of the instrument. At times playing the G and D strings, you will actually push your elbow forward towards the E string.
I know it sounds odd, but trust me, it helps you with extra finger length that in turn will help you play notes more easily.
Final thoughts
Well, that’s all for your posture on holding the violin. Head over to our next article for your next step in the journey to play the violin to the best of your ability. Have fun, and keep practicing!
Previous Article: How To Tune Your Violin
Next Article: How To Hold The Violin Bow: Posture