In the know
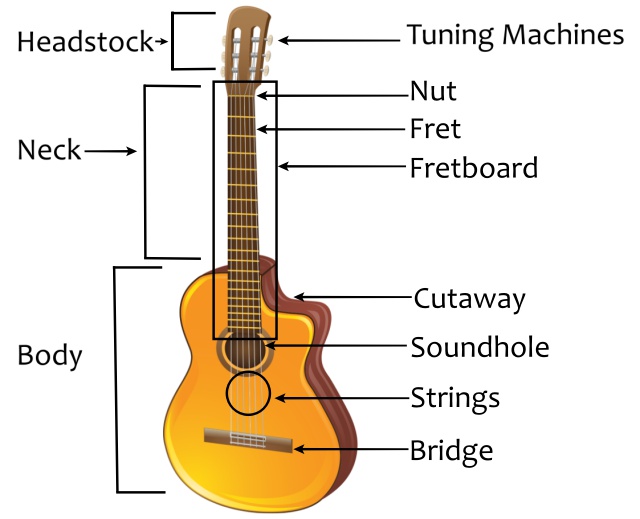
Hey everyone! The first thing I do when I start teaching a new guitar student, is help them memorize the parts of the guitar.
Why? Well, because I use these terms all the time and we need to be able to speak the same language.
If I say, “place your hand on the 5th fret”, you need to first know what a fret is, right? Of course! That’s what this article is for.
Some of these topics can be discussed at long length, but this isn’t the time for those discussions.
Recommended Reading: How To Get Started Playing The Guitar
For right now, this is just for recognition purposes. I hope this helps illuminate your understanding of the guitar and it’s construction.
Let’s dive in!
Headstock
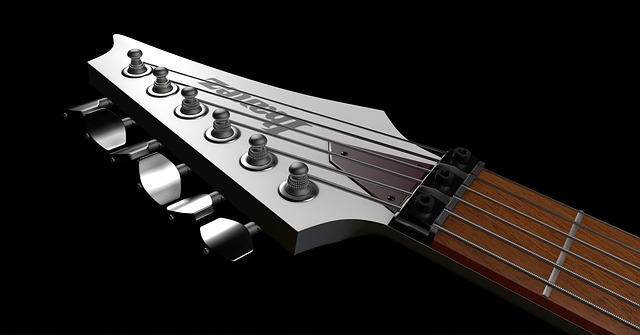
The Headstock is located on the neck, on the end of the guitar, opposite the big slab of wood that is the body.
It houses the tuning machines, which attach to the strings and allow for pitch adjustments of the guitar strings.
On some guitars, you’ll find an opening on the headstock where you can adjust the truss rod.
Personally, I prefer the truss rod adjustment at the headstock, but there are some extremely high quality guitars with adjustment holes at the base of the neck (where the neck meets the body).
Tuning Machines
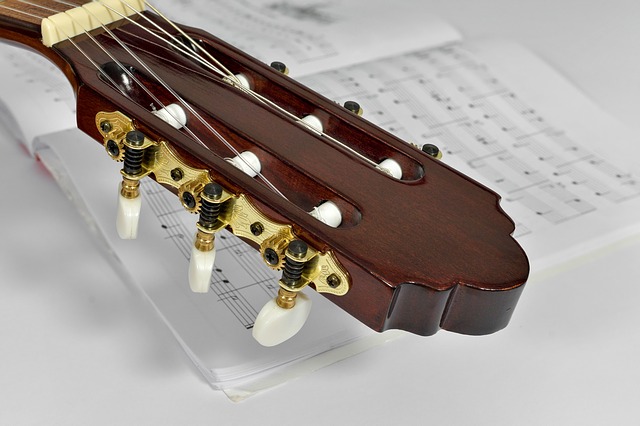
The tuning machines, or tuning pegs, are located on the headstock and are often called “tuners” for short.
These are mechanical tuners, which means they have gears and can be adjusted rather easily.
Not all tuners are created equal as some are of higher quality than others and there are different types, such as standard and locking.
The tuners are what adjust the pitch of the guitar strings as they are attached to them.
I should let you know that there are types of guitars that have both tuning machines at the headstock, and FINE tuners at the bridge.
These fine tuners work like the tuning machines, but have much less range to tune.
However, they serve their purpose well on the types of guitars that use them (mainly Floyd rose locking nut and bridge guitars).
Nut
The nut is a piece of material at the base of the headstock, and the top of the neck.
It’s main purpose is to create a place where the string can “break”, or lay, over a stopping point.
This is important because it allows the strings to vibrate between only two points: the bridge and the nut.
This is what creates the “scale length” of the guitar (more on that later).
The nut can be made of plastic, tusq, graphite, various metals, composite materials, bone, brass (specifically), and other less common materials.
Which type you use depends on what type of guitar you have, and the quality of the materials used at construction.
Fret Wire(Fret)
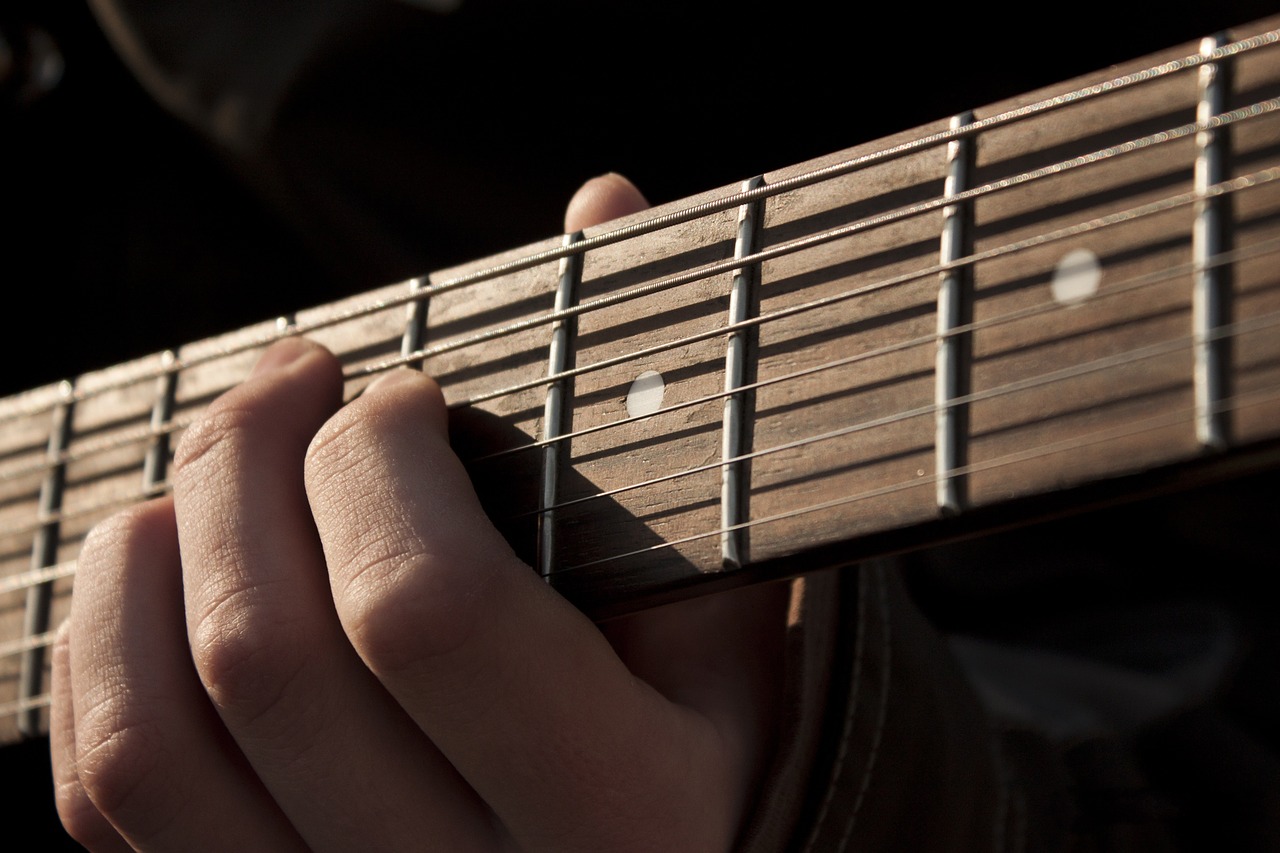
The fret wire is made of metal and is what creates the pitches on the guitar.
Each fret wire creates a space that we commonly refer to as “frets”.
To be clear, the fret wire is the ACTUAL fret material.
However, when you hear me talk about placing your fingers on certain frets, Im telling you to place your finger on the spaces, not the wire itself.
Frets can be made of silver nickel, stainless steel, and other metals.
Each material has it’s own inherent qualities and many players develop preferences over time.
I would venture to say that silver nickel is the most common production material for frets.
Neck and Fretboard
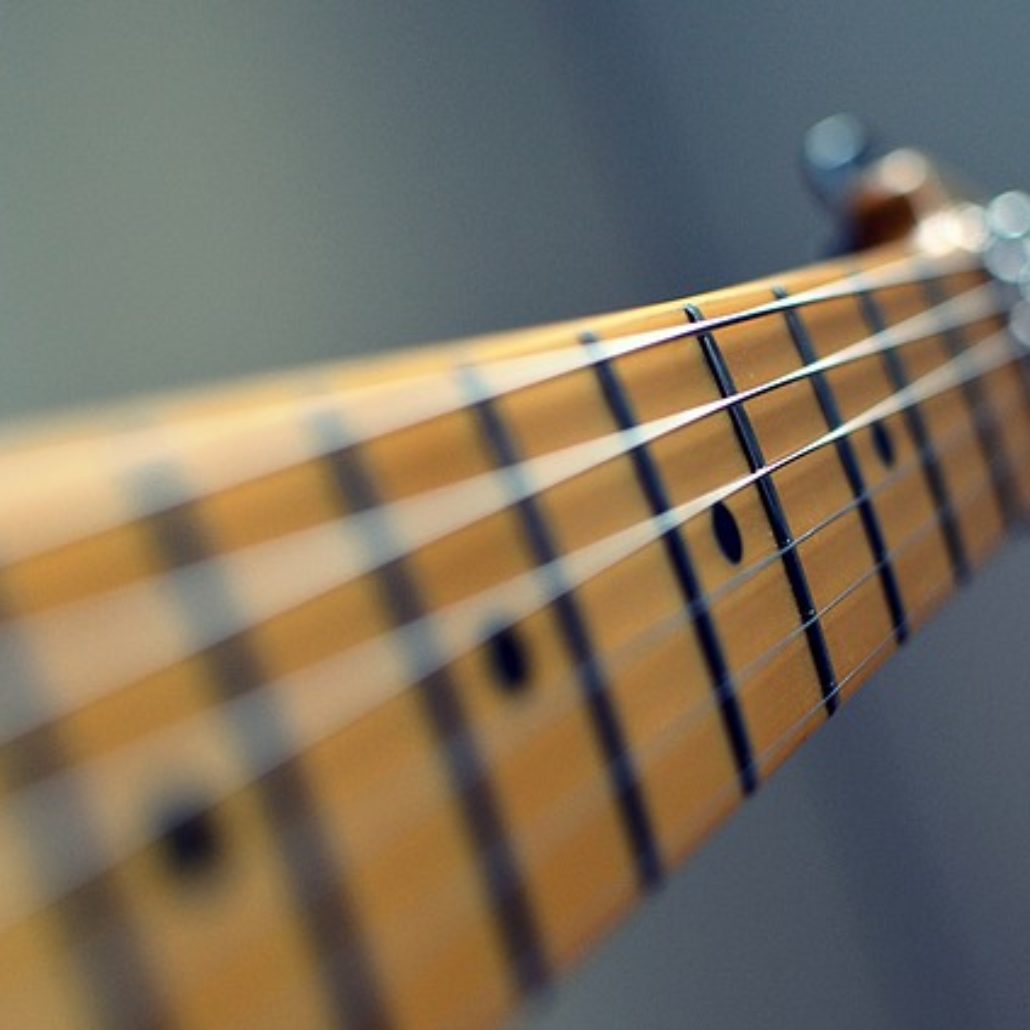
I combine these because they are part and parcel. In other words, the fretboard sits atop the neck, so sometimes it’s hard to distinguish.
The neck is the general term for the long piece of wood that we hold, and press our fingers on, to make notes on the guitar.
But to be specific, we have to recognize that there is often a second, thinner piece of wood, that is placed on top of the neck, and is what the fret wire is placed in.
Neck materials consist of mahogany, maple, koa, rosewood, and various other types of wood.
Common fretboard materials are rosewood, maple, ebony, and composite materials.
Body
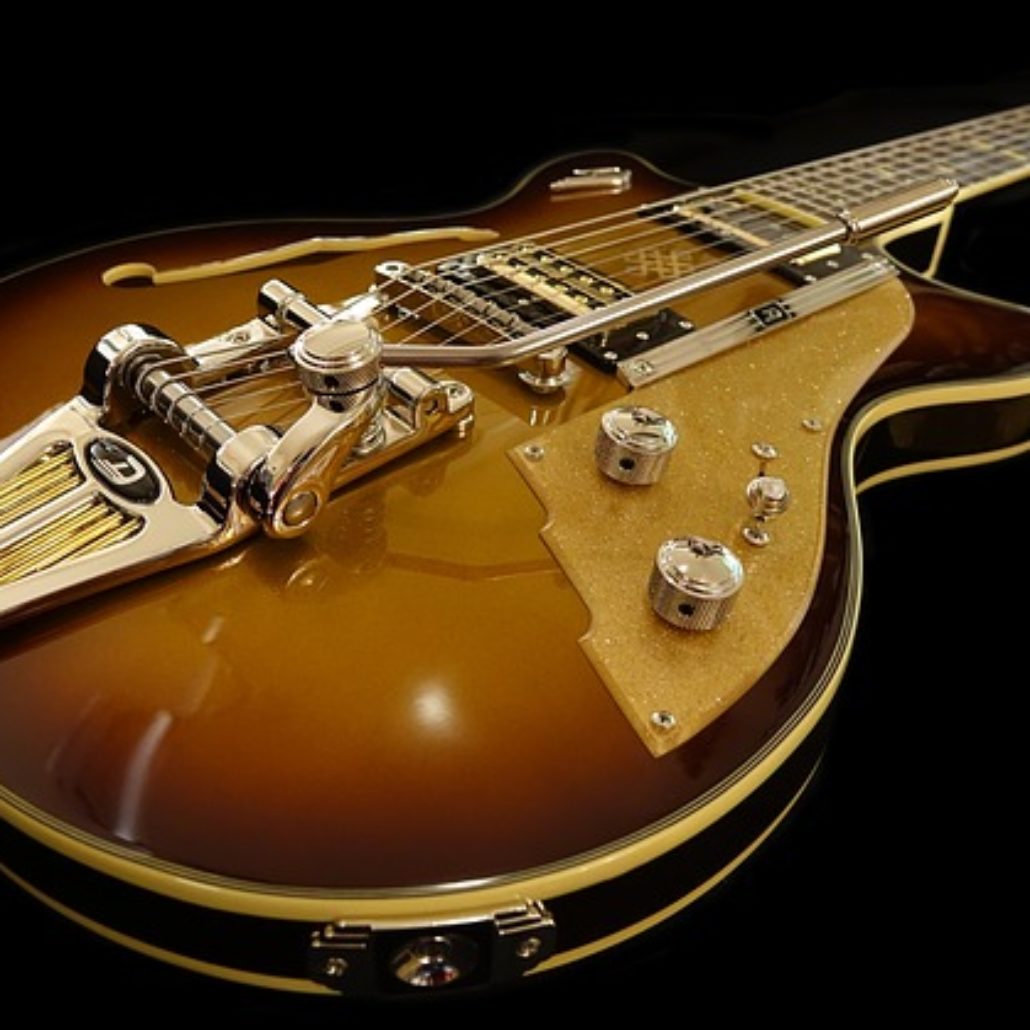
The body is the slab (or in the acoustic guitar’s case, the chamber) of wood that the neck connects to, and that houses the bridge.
It is the bulk of the guitar and it’s weight. On an electric, the body also houses pickups, electronics, and input jacks (for guitar cables), a pickguard, and strap buttons.
On true acoustics, the body is thick, being open in the middle and houses a sound hole, a pickguard, the bridge, and strap buttons.
Bridge
The bridge is the point at which the guitar strings enter, or are attached to, the body.
There are various different types of bridges, but the basics are just that: on the guitar body, strings stop at the bridge.
This closes the line between the nut and allows the guitar strings to optimally ring unobstructed.
Saddle(s)
For image, referrence the previous picture for bridge as the saddles sit atop the bridge plate.
The saddle sits atop the bridge and depending on the guitar you are using, there can be one saddle for each string, or one long saddle for all six strings (or more).
The saddle is part of the bridge, but it is the specific point at which the strings stop and create the scale length between the nut.
The saddles also allow you to adjust the intonation of the guitar (something we will discuss at length later).
Strings
The strings of the guitar are long pieces of either metal, nylon, or gut (if you’re REALLY committed to being old school), that are stretched across the guitar and are plucked to create vibrations and thus ring a pitch.
The standard 6 string guitar pitches are (from low to high) E, A, D, G, B, E.
Newer guitars and playing styles call for more, but I advise everyone start with six and branch out from there.
Do you have a tough time deciding on guitar strings? Check out this guide on how to choose the best acoustic guitar strings for you.
Strap Button(s)
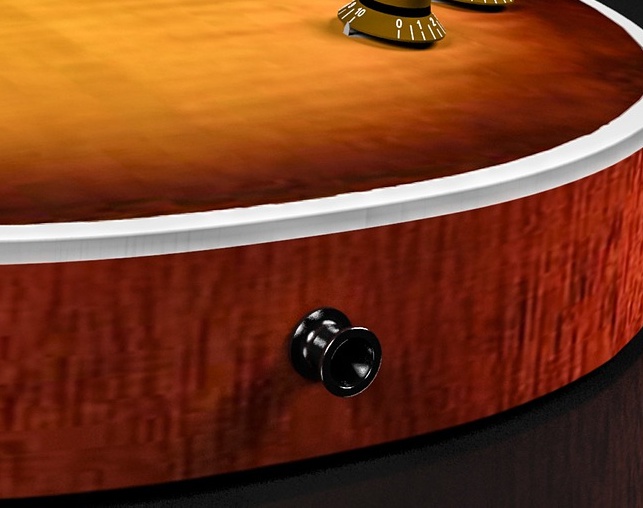
Strap buttons are very useful for myself and many other guitarists.
They allow for easy contact points on the guitar to attach straps.
Straps are best used while standing, but I use them while seated as well, in order to contain my guitar and keep it from sliding where I don’t want it to.
Strap buttons can be as simple as a screw holding a knob into your guitar.
Or, you can get complicated with what are called “strap locks”. Now, I don’t want to deter you.
There are strap locks that are very easy to use, and they can be a God send. Basically, regular straps can fall off once worn in.
Strap locks make it so your straps can be “snapped” or “locked” onto a receiving end of the button.
If you’re a very mobile guitarist, I suggest investing in strap locks.
Final thoughts
Knowing the parts of your guitar will help you better understand playing the instrument.
It will also help you take better care of your guitar. Tip: Endeavor to have full knowledge of your instrument so that you can take direction more easily from your instructor.
Additionally, keep your guitar in top shape, and you will make it easier for you to increase your skill!


